If you love birds as I do, I am always thinking about ways that I can invite them to my yard. Better yet, I like to make bird-themed gifts for friends and family, so that they can enjoy birding as well.
I have found that my hanging suet bird feeders are popular with both people and birds. I love that I only need a few ingredients to make these simple, yet hardy feeders.
One friend told me that it took only 30 minutes for birds to find and devour her feeder! These suet feeders not only make a great gift, but they are a great craft that kids can create as well.
I also love these feeders because they are not as prone to mold as others (such as those with gelatin). So, if I make a batch, I can store them in a loosely lidded container for later use without much worry.
These 4-ingredient feeders only take about 10 minutes to make. However, you’ll need a few days to allow them to set and dry.
The number of feeders you make will depend on the size of your molds.
What You Need: Tools
Tray
Parchment or waxed paper
Metal cookie cutters or biscuit rings
Baking sheet or pan
Large mixing bowl
Metal soup spoon
Straw, chopstick, or skewer (to make the hanging hole)
Twine, ribbon, or stainless steel craft wire
What You Need: Ingredients
Coconut oil spray
2 cups of birdseed (see note)
6 tablespoons of flour
¼ cup of water
1 ½ tablespoons corn syrup
Note: I use a wild bird feed mixture that has various seed sizes in it, including larger black sunflower seeds. I do not recommend that you use only black sunflower seeds because their large size will not adhere as well together in the mixture. You need smaller seeds to fill in the gaps between larger seeds.
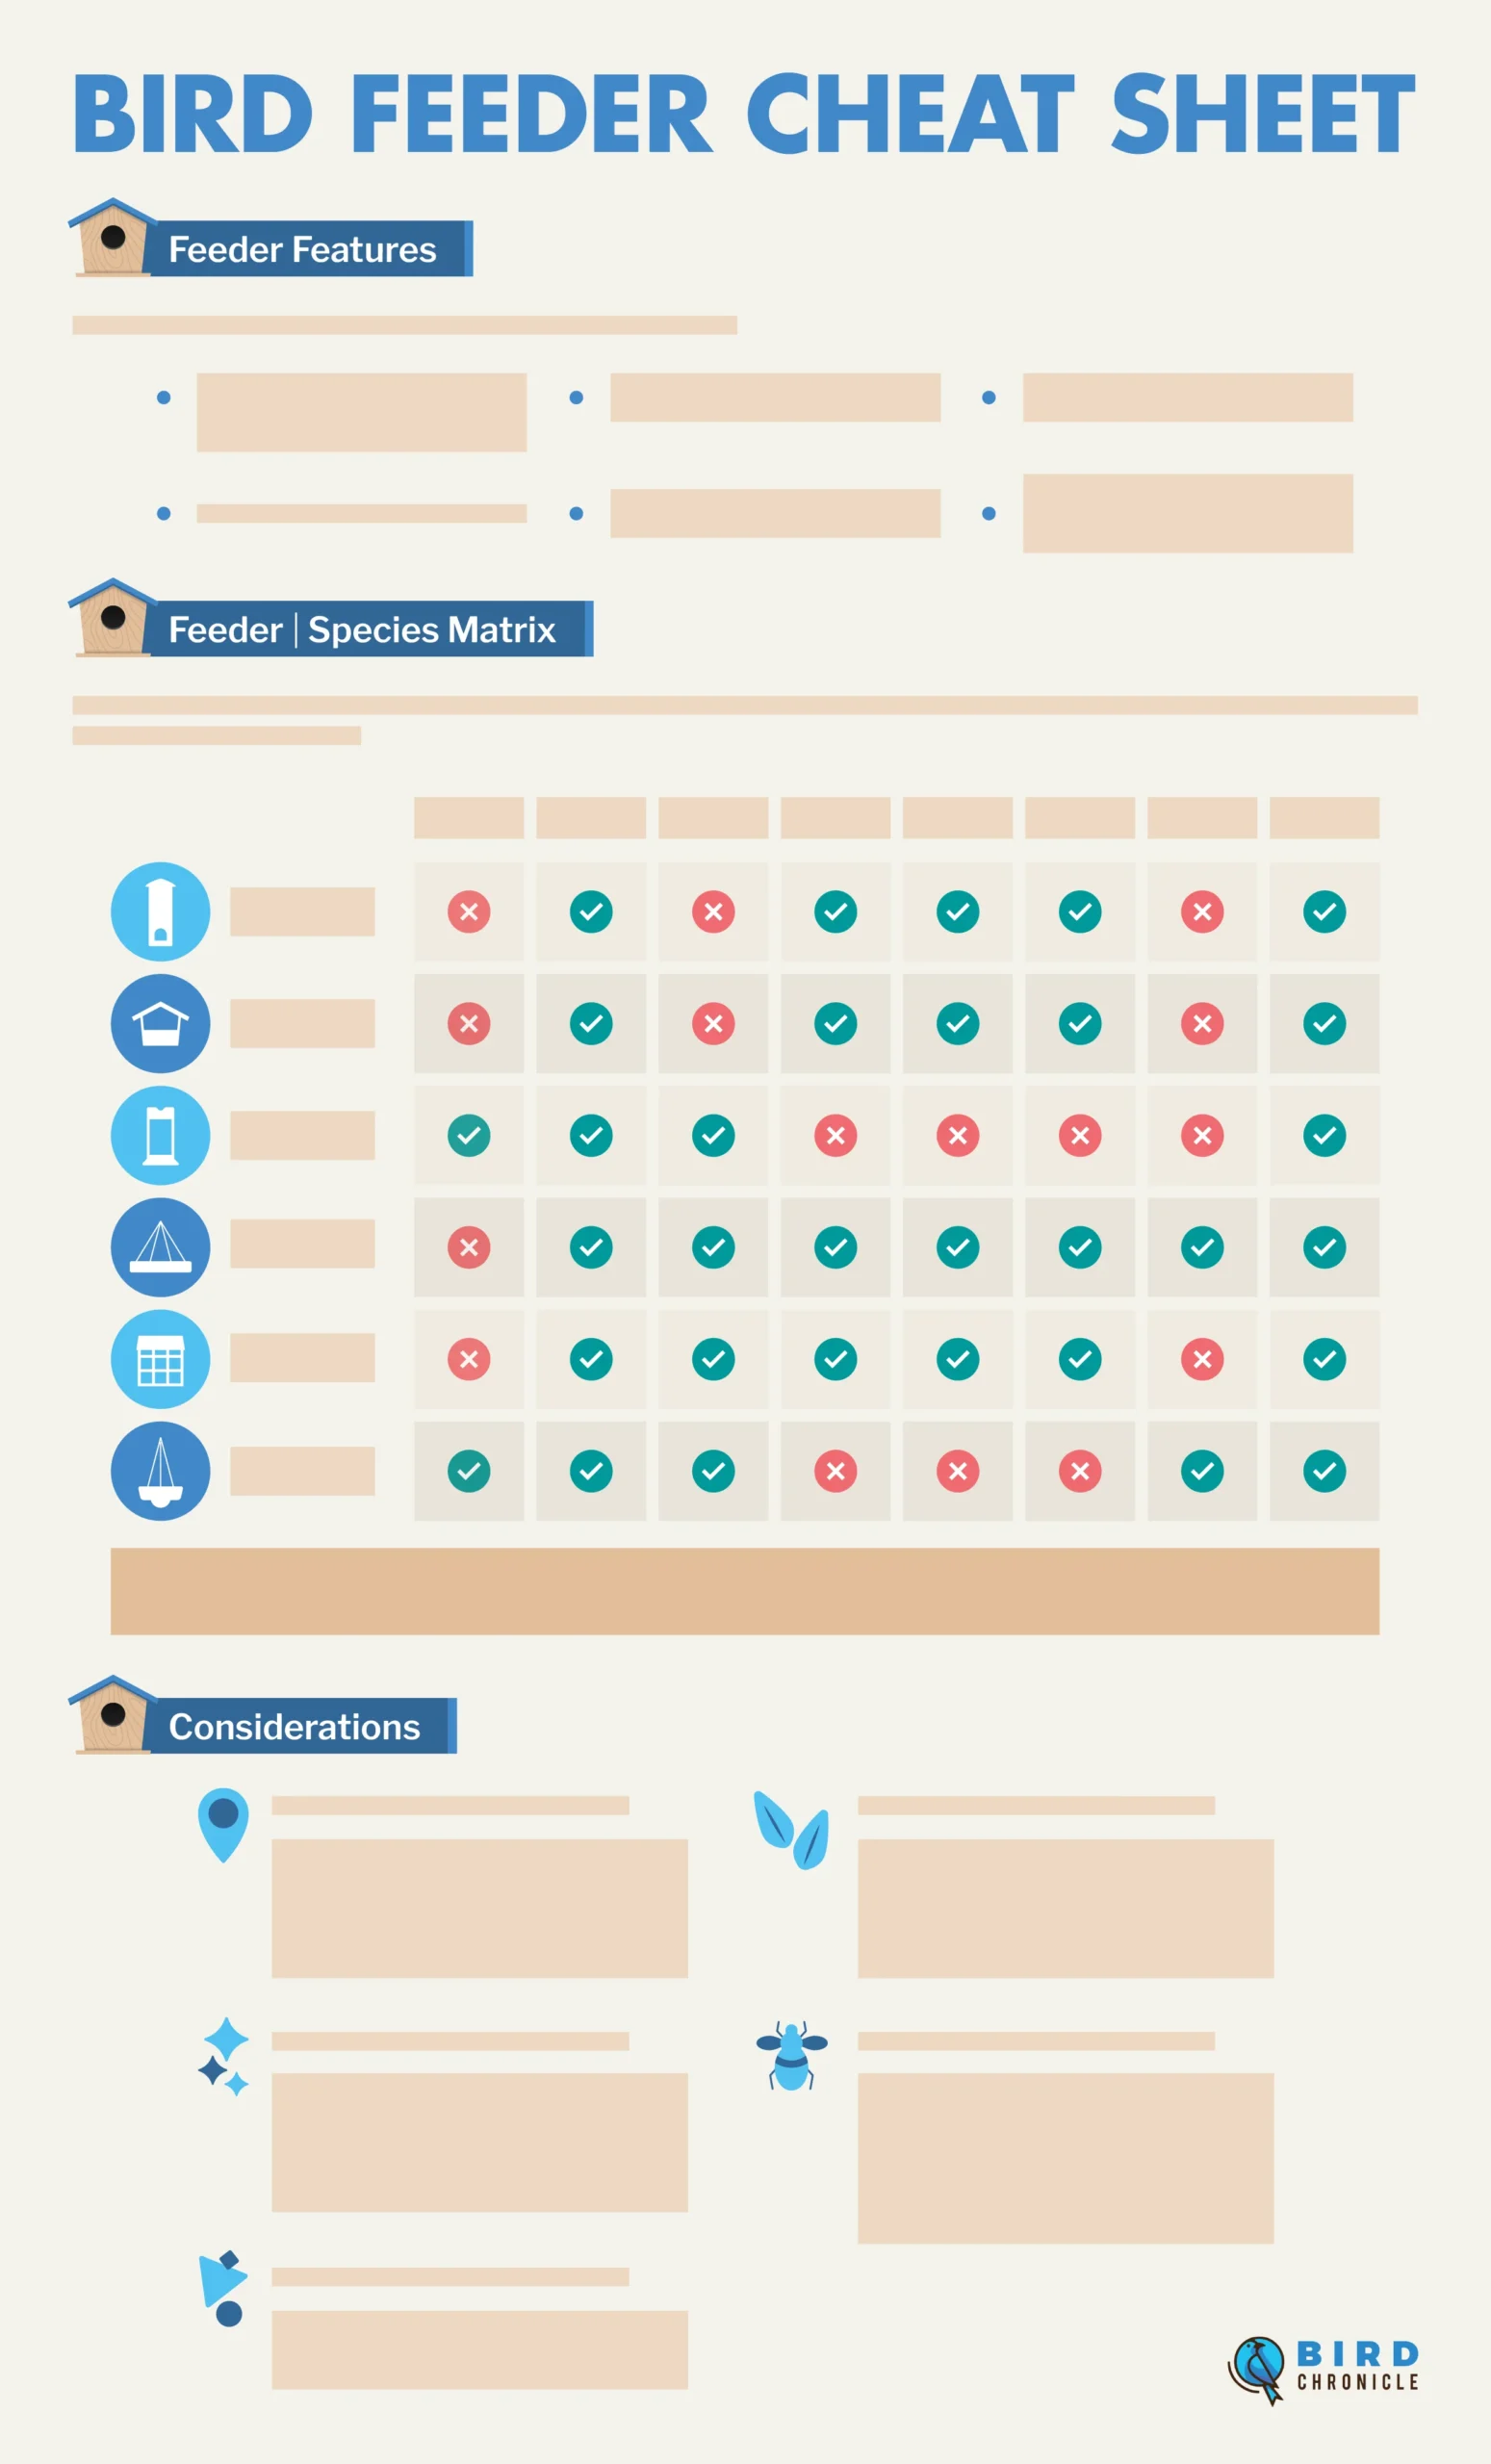
Want more birds in your backyard? Get simple tips on attracting feathered friends and maximizing your bird feeding setup. Our free cheat sheet has got you covered!
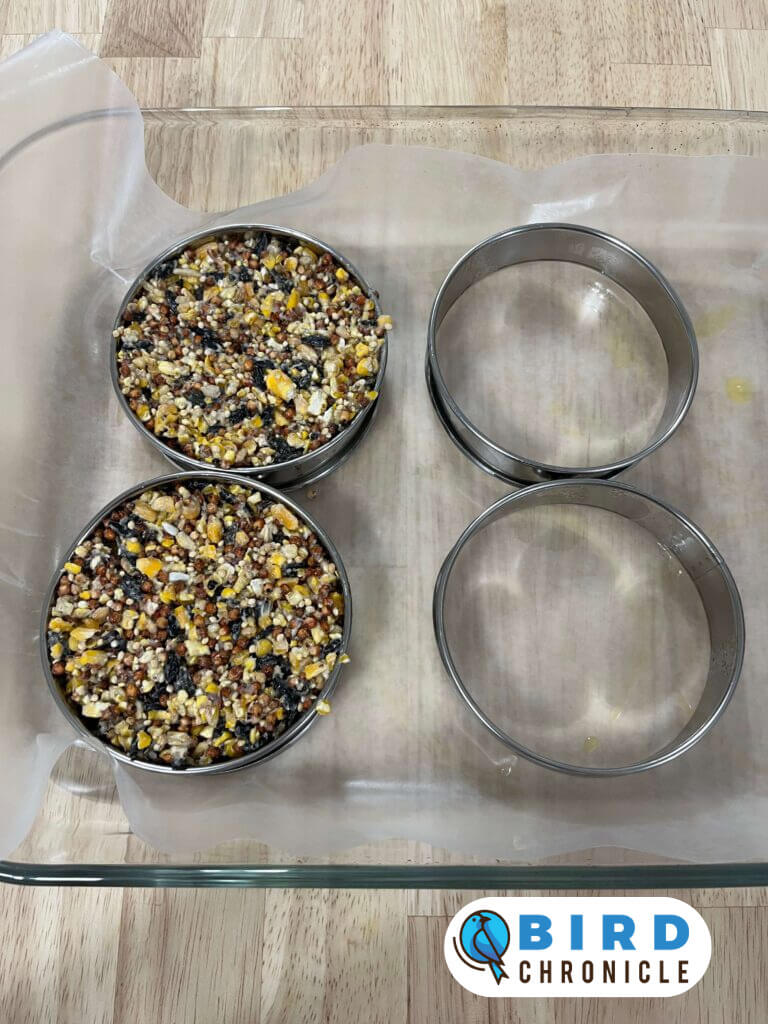
Line a sheet or pan with parchment or wax paper. This keeps stray seeds contained and makes it easier to clean up later.
Step 2
Use coconut oil to coat the interior edges of your metal cookie cutters or biscuit rings.
Tips:
I like to use biscuit rings because they make thick, sturdy, and consistent feeders. However, cookie cutters can allow you to make customizable shapes for gift-giving or personal preferences.
I have not used plastic cookie cutters, but feel free to experiment and see if they work for you!
Step 3
Mix the birdseed, flour, water, and corn syrup in a bowl.
Tips:
I mix the flour and birdseed together first to evenly distribute it.
I then make a “well in the middle” and pour in the syrup and water.
Then, I use a metal soup spoon to mix it all together.
If you decide to use your hands, you may want to coat your hands with a little coconut oil so it doesn’t stick to your hands as much.
Step 4
Scoop out the mixture and tightly pack it into each cookie cutter or biscuit ring.
Tips:
I use the back of my metal spoon to firmly press down on the suet mixture.
If you are using cookie cutters, make sure to get the mixture firmly pressed into any corners and small spaces.
Step 5
Use a round instrument to poke a hole into the area you wish to hang it from.
Tips:
I found that a plastic straw was not strong enough to make the hole because my biscuit rings are so thick. Instead, I used a plastic orange peeler tool to poke in and then I twisted slowly to make a round hole. Another time I used a metal skewer in the same fashion.
Most importantly, make sure the hole is not too close to the edge. You want enough space so that the suet mixture above the hole can support the weight of the feeder. This can be a little bit of trial and error, but mine are about ½-inch to 1-inch down.
Allow the suet feeders to fully dry in the molds to help them cement their shape, flipping them halfway through.
Tips:
I carefully flip the feeders once the tops appear lighter in color as the corn syrup dries (usually about 1 or 2 days).
I put a hand underneath when I flip them so that they do not slip out of the rings. I wait again until the top surface is a lighter color.
Drying times can vary depending on your local humidity levels. If in doubt, give them a full week, with a flip in the middle of the week.
One of my cats was very curious about my feeders, so I had to hide them to keep her out of them.
I do not recommend that you cover the feeders because they will take longer to dry.
Do not allow them to dry in the garage or shed since pests can get into them.
Step 7
Add sturdy twine or make a stainless steel loop to go through the hole.
Tips:
If your hole did not go all the way through when you first made it, use a metal skewer to gently assist your string through.
If you use a metal loop, make sure the sharp ends are folded over or covered securely with masking tape to prevent injury to birds.
Another option is to place your suet into a commercial suet holder that can be found at big box or home improvement stores or online.
Step 8
Hang up your feeder.
Tips:
Hang it above another branch if possible, so birds can perch and eat.
Chunks of the feeder may fall to the ground as birds enjoy it or in inclement weather. That is okay! They are not picky about where they get their food from.
Once the hanger is no longer attached to the feeder, remove it promptly.
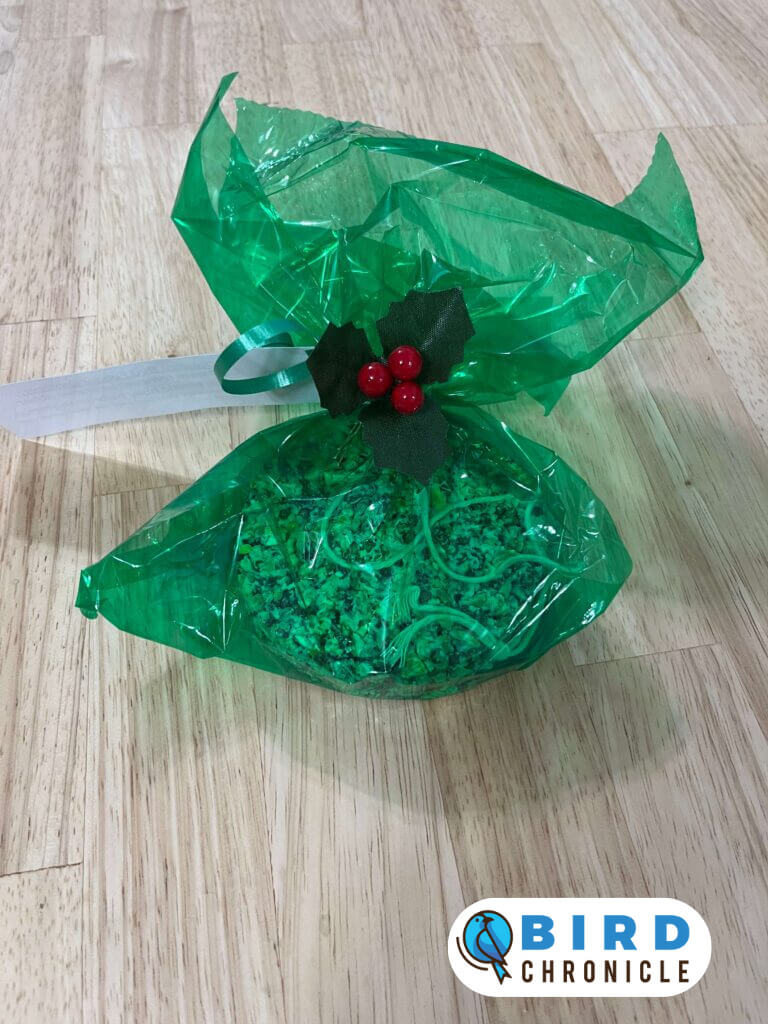
If giving it as a gift, wrap the feeder up in some cellophane and add some flair with ribbon and a gift tag. I also tell the recipients that this is not a cookie for them to eat!
If you wish to store the feeders, make sure to keep them in a loosely lidded container once they are fully dry. Even though they are less prone to mold, they should have some air circulation to keep mold fully away.
I hope you’ll try making these easy suet feeders. They are inexpensive, fun, and can be made with the family or given as gifts. Try making ones with different seed blends and see which birds come to the feast.
Get Our FREE Bird Feeder Cheat Sheet
Want more birds in your backyard? Get simple tips on attracting feathered friends and maximizing your bird feeding setup. Our free cheat sheet has got you covered!
James is a native Texan with a love for birding and outdoor adventures. When he's not birdwatching, you can find him hiking, camping or playing the piano.
Bald eagles (Haliaeetus leucocephalus) are a symbol of the United States of America and one of the most prolific types of eagles in the nation. They are established throughout all 48 lower states as...
After the peaceful passing of Dorothy Booth, a beloved 97-year-old woman from Virginia, her family was left grieving and feeling the void left by her absence.
Before her passing, Booth's...


")


")
")

")
")
")